SalesforceのMobile SDKを使ってPush通知が出来るようなので、Androidで試してみました。JDKやAndroid Studioのインストールは完了済みとして、そこからの構築工程を備忘として残しておきます。環境はwindows 8 です。
参考URLはこちら
- AndroidStudio+SalesforceMobileSDKによるAndroid開発環境構築 - Qiita
- Salesforce Mobile SDKを使ってAndroidネイティブアプリのサンプルを動かしてみよう - Appirio Japan
- Mobile Push Notifications Overview | Salesforce Mobile Push Notifications Implementation Guide | Salesforce Developers
forcedroidのインストール
SalesforceのSDKを使ってAndroidアプリを作る場合はforcedroidというジェネレータを使う必要があります。forcedroidのインストールはgit cloneで落としてインストールする方法と、npmでインストールする方法がありますが、後者の方がパスを通す工程が必要が無いので、今回はnpmでインストールしてみます。windowsの場合は予めChocolatey等でnode.jsとnpmをインストールしておきます。
まず、npmでforcedroidをインストールします。
$ npm install -g forcedroid
適当なプロジェクトフォルダを作成します。
$ mkdir SalesforceAndroidApp
$ cd SalesforceAndroidApp
あとはこんな感じでforcedroidでプロジェクトのテンプレートをジェネレートします。
$ forcedroid create
Enter your application type (native, hybrid_remote, or hybrid_local): native
Enter your application name: SalesforceAndroidApp
Enter the target directory of your app: .
Enter the target Android API version number for your application (at least 21 (Lollipop)): 21
Enter the package name for your app (com.mycompany.my_app): com.freedom_man.sfdc
Do you want to use SmartStore or SmartSync in your app? [yes/NO] ('No' by default)
また、環境変数にANDROID_HOMEが設定されていないとエラーが出るので忘れずに設定してください。私の環境の場合は、“C:\Users\ {user name}\AppData\Local\Android\sdk"に設定されていました。
Android Studioへのインポート
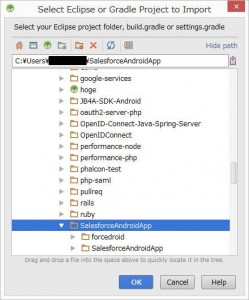
Android Studioを開いて、File>New>Import Projectをクリックします。
先ほど作成したフォルダを選択します。
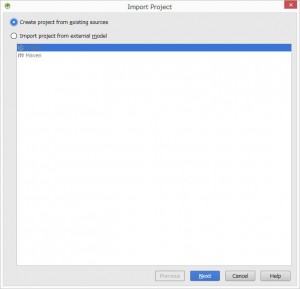
Create project from existing sourcesを選択します。
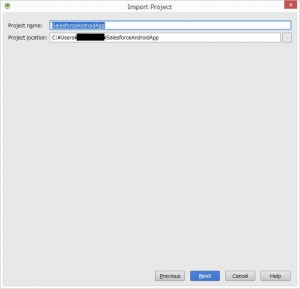
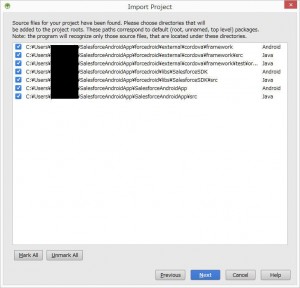
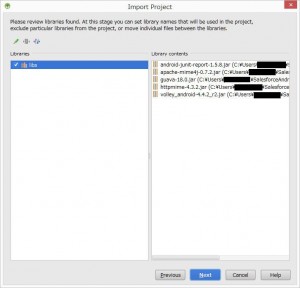
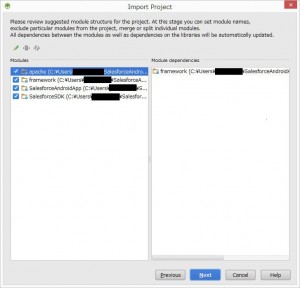
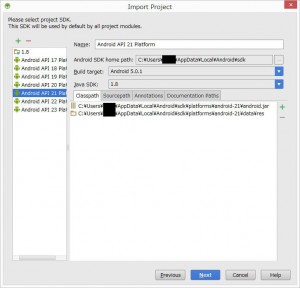
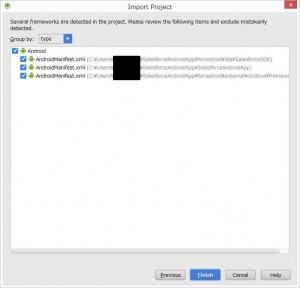
あとは、そのままNextを押し続けます。(SDKのバージョンは21を選択)
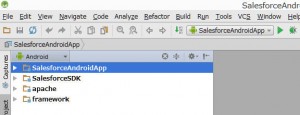
完了するとこんな感じで展開されます。
このままRunすると以下のエラーメッセージが出て、依存関係問題でビルドできません。
Error:(125, 33) java: com.android.volley.Requestにアクセスできません
 com.android.volley.Requestのクラス・ファイルが見つかりません
File>Project Structure のMobulesのところで、プロジェクトのDependenciesの設定を変更します。(チェックつけるだけ)
libsだけでも通ったのでframeworkは要らないかも。
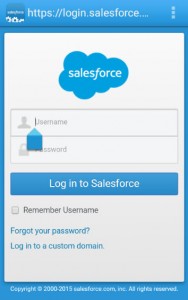
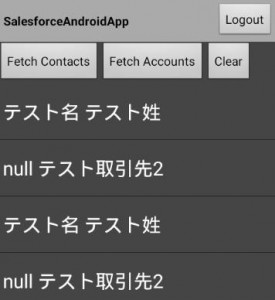
アプリを起動するとログイン画面でOAuthフローを通して、APIを叩いてAccount, Contactのリスト表示をするようなUIが表示されます。
ちなみに認証・認可画面はWebViewです(個人的にはブラウザに飛ばしてImplicit Grantで実装したかった…)
Google Developers Consoleの設定
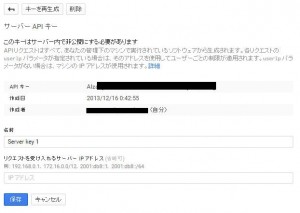
Google Developers ConsoleでServer Keyを発行して、APIキーをメモります。(発行方法は割愛)
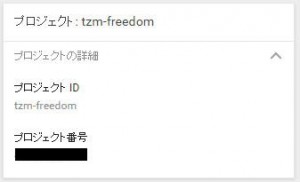
プロジェクト番号もメモっておきます。
Salesforceの接続アプリケーションの設定
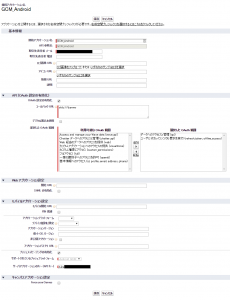
Push用の接続アプリを作成します。サポートされているプッシュプラットフォームに”Android GCM”、サーバアプリケーションのキー (API キー)にdevelopers consoleで取得したAPIキーをセットします。
作成された接続アプリのクライアントIDとリダイレクトURLをメモります。
Push配信のアプリ設定
com.salesforce.androidsdk.push.PushNotificationInterfaceをimplementsしたクラスを作成します。
package com.freedom_man.sfdc;

import android.os.Bundle;
import android.util.Log;

import com.salesforce.androidsdk.push.PushNotificationInterface;

public class MyPushNotificationInterface implements PushNotificationInterface{
    private static final String TAG = "MyPushNotification";
    @Override
    public void onPushMessageReceived(Bundle message) {
        Log.d(TAG, message.toString());
    }
}
ApplicationのサブクラスのonCreateメソッドを以下のように書き換えます。
@Override
public void onCreate() {
    super.onCreate();
    SalesforceSDKManager.initNative(getApplicationContext(), new KeyImpl(), MainActivity.class);
    SalesforceSDKManager.getInstance().setPushNotificationReceiver(new MyPushNotificationInterface());
}
さらにSalesforceAndroidApp\res\values\bootconfig.xmlを以下のように書き換えます。
<?xml version="1.0" encoding="utf-8"?>

<resources>
    <string name="remoteAccessConsumerKey">{Salesforce ClientID}</string>
    <string name="oauthRedirectURI">{Salesforce Redirect URI}</string>
    <string-array name="oauthScopes">
        <item>api</item>
    </string-array>
    <string name="androidPushNotificationClientId">{Google Project Number}</string>
</resources>
テスト配信
接続アプリケーションの"テスト通知の送信"リンクから、任意の端末に対してPush配信のテストを行うことができます。
予めデバイス登録されているユーザ(端末ID)に対してPushを送信することが出来ます。
Push配信(トリガ)
ApexトリガでPush配信を行うことができます。(VFでは出来ないっぽいです)
trigger Hoge on Hoge__c (after insert) {
    Messaging.PushNotification msg = new Messaging.PushNotification();

    Map<String, Object> androidPayload = new Map<String, Object>();
    androidPayload.put('number', 1);
    androidPayload.put('name', 'test');
    msg.setPayload(androidPayload);
    msg.send('GCM_Android', new Set<String>{'{user_id}'});
}
Push配信(Chatter REST)
Chatter RESTにPushのリソースがあるので、API経由でPush配信が可能です。
$ curl -i -X POST \
   -H "Content-Type:application/json" \
   -H "Authorization:Bearer {access_token}" \
   -d \
'{   "appName" : "GCM_Android",
    "userIds" : ["{user_id}"],
    "payload" : "{\''aps\'':{\''alert\'':\''gege\'', \''badge\'':0, \''sound\'':\''default\''}}"
}' \
 'https://{instance_url}/services/data/v31.0/connect/notifications/push'
