ExactTargetのMobilePush(Android)を試してみたので備忘として残しておきます!
参考URL:Journey Builder for Apps Android SDK (v4.0.6) : README
1. Google Developers ConsoleでAPIキー登録
Server Keyを登録してAPIキーを取得し、プロジェクト番号をメモります。 詳細な方法は以下のURLを参照。
アンドロイドアプリからGoogle Cloud Messagingを使う方法(第1回)第2版
2. AppCenterでアプリケーション登録
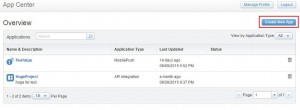
AppCenterにログインしてPush用のアプリケーションを作成します。
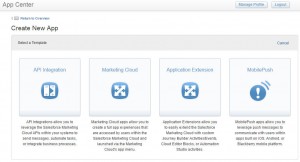
MobilePushを選択します。
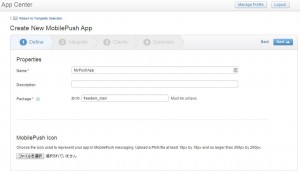
アプリの基本情報を入力します。
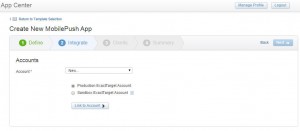
ユーザと紐付けます。
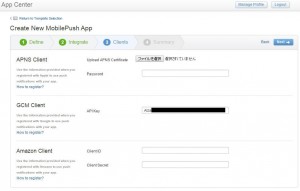
Google Developers Consoleで取得したServer Keyをセットします。
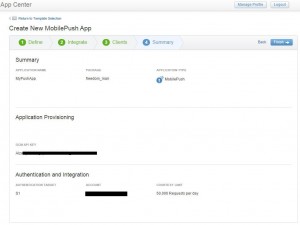
設定内容を確認して、Finishをクリックして完了です。
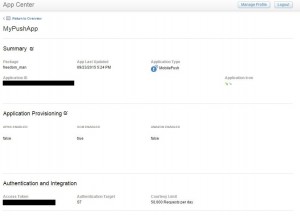
Application IDとAccess Tokenが払い出されるのでメモります。
3. Androidアプリの作成
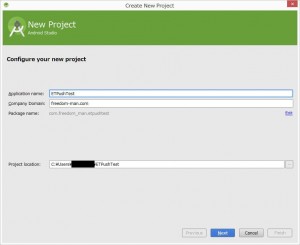
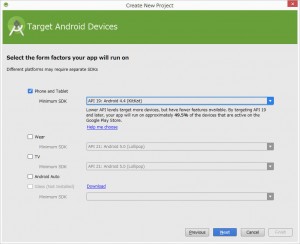
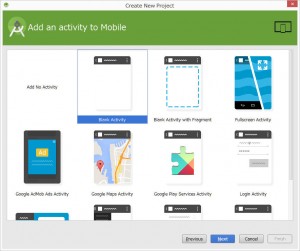
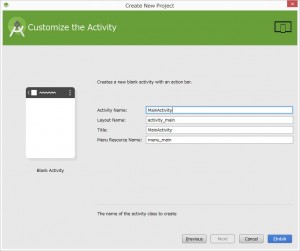
Android StudioでFile>Newから新しいアプリを作成します。
作成されたアプリを以下のように修正します。
ETPushTest\build.gradle
// Top-level build file where you can add configuration options common to all sub-projects/modules.

buildscript {
    repositories {
        jcenter()
    }
    dependencies {
        classpath 'com.android.tools.build:gradle:1.2.3'

        // NOTE: Do not place your application dependencies here; they belong
        // in the individual module build.gradle files
    }
}

allprojects {
    repositories {
        jcenter()
        maven {
            url "http://salesforcefuel.github.io/JB4A-SDK-Android/repository"
        }
    }
}
ETPushTest\app\build.gradle
apply plugin: 'com.android.application'

android {
    compileSdkVersion 23
    buildToolsVersion "23.0.1"

    defaultConfig {
        applicationId "com.freedom_man.etpushtest"
        minSdkVersion 19
        targetSdkVersion 23
        versionCode 1
        versionName "1.0"
    }
    buildTypes {
        release {
            minifyEnabled false
            proguardFiles getDefaultProguardFile('proguard-android.txt'), 'proguard-rules.pro'
        }
    }
}

dependencies {
    compile fileTree(dir: 'libs', include: ['*.jar'])
    compile 'com.android.support:appcompat-v7:23.0.1'

    // ET SDK
    compile 'com.exacttarget.etpushsdk:etsdk:4.0.6@aar'

    // Google Play Services for Location and Google Cloud Messaging
    compile 'com.google.android.gms:play-services-location:7.5.0'
    compile 'com.google.android.gms:play-services-gcm:7.5.0'

    // Google's Support v4 for Notification compatibility
    compile 'com.android.support:support-v4:22.2.0'

    // 3rd Party Libraries Required for SDK integration
    compile 'com.radiusnetworks:AndroidIBeaconLibrary:0.7.6'
}
ETPushTestApp.java
package com.freedom_man.etpushtest;

import android.app.Application;
import android.util.Log;

import com.exacttarget.etpushsdk.ETException;
import com.exacttarget.etpushsdk.ETPush;
import com.exacttarget.etpushsdk.ETPushConfig;
import com.exacttarget.etpushsdk.event.ReadyAimFireInitCompletedEvent;
import com.exacttarget.etpushsdk.util.EventBus;

/**
 * Created by freedom on 2015/09/23.
 */
public class ETPushTestApp extends Application {
    private static final String TAG = "ETPushTestApp";

    @Override
    public void onCreate() {
        super.onCreate();
        try {
            ETPush.readyAimFire(new ETPushConfig.Builder(this)
                            .setEtAppId(getString(R.string.et_app_id))
                            .setAccessToken(getString(R.string.et_access_token))
                            .setGcmSenderId(getString(R.string.gcm_sender_id))
                            .setAnalyticsEnabled(false)
                            .setPiAnalyticsEnabled(false)
                            .setLocationEnabled(false)
                            .setCloudPagesEnabled(false)
                            .setLogLevel(android.util.Log.VERBOSE)
                            .build()
            );
            EventBus.getInstance().register(this);
        } catch(ETException e) {
            Log.e(TAG, e.getMessage(), e);
        }
    }

    public void onEvent(ReadyAimFireInitCompletedEvent event) {
        if (ETPush.getLogLevel() <= Log.DEBUG) {
            Log.i(TAG, "ReadyAimFireInitCompletedEvent started.");
        }

        if (event.isReadyAimFireReady()) {
            // successful bootstrap with SDK


        } else {
            String message = "";
            // unsuccessful bootstrap with SDK
            if (event.getCode() == ETException.RAF_INITIALIZE_ENCRYPTION_FAILURE) {
                message = "ETPush readyAimFire() did not initialize due to an Encryption failure.";
            } else if (event.getCode() == ETException.RAF_INITIALIZE_ENCRYPTION_OPTOUT_FAILURE) {
                message = "ETPush readyAimFire() did not initialize encryption failure and unable to opt-out.";
            } else if (event.getCode() == ETException.RAF_INITIALIZE_EXCEPTION) {
                message = "ETPush readyAimFire() did not initialize due to an Exception.";
            } else {
                message = "ETPush readyAimFire() did not initialize due to an Exception.";
            }
            Log.e(TAG, String.format("ETPush readyAimFire() did not initialize due to an Exception with message: %s and code: %d", event.getMessage(), event.getCode()), event.getException());
            throw new RuntimeException(message);
        }
    }
}
ETPushTest\app\src\main\res\values\strings.xml
<resources>
    <string name="app_name">ETPushTest</string>

    <string name="hello_world">Hello world!</string>
    <string name="action_settings">Settings</string>
    <string name="et_app_id">{ExactTarget ApplicationID}</string>
    <string name="et_access_token">{ExactTarget AccessToken}</string>
    <string name="gcm_sender_id">{Google ProjectID}</string>
</resources>
{}内にはそれぞれGoogle Developers ConsoleやApp Centerで取得した値を入力してください。
ETPushTest\app\src\main\AndroidManifest.xml
<?xml version="1.0" encoding="utf-8"?>
<manifest xmlns:android="http://schemas.android.com/apk/res/android"
    package="com.freedom_man.etpushtest" >

    <!-- JB4A SDK Google Permissions -->
    <permission
        android:name="${applicationId}.permission.C2D_MESSAGE"
        android:protectionLevel="signature" />
    <uses-permission android:name="${applicationId}.permission.C2D_MESSAGE" />
    <uses-permission android:name="com.google.android.c2dm.permission.RECEIVE" />
    <uses-permission android:name="android.permission.RECEIVE_BOOT_COMPLETED" />
    <!-- JB4A SDK Google Permissions -->

    <!-- ET SDK required permissions -->
    <uses-permission android:name="android.permission.INTERNET"/>
    <uses-permission android:name="android.permission.WAKE_LOCK"/>
    <uses-permission android:name="android.permission.ACCESS_NETWORK_STATE"/>
    <uses-permission android:name="android.permission.ACCESS_WIFI_STATE"/>

    <uses-permission android:name="android.permission.GET_ACCOUNTS" />
    <!-- END ET SDK Required Permissions -->

    <application
        android:allowBackup="true"
        android:icon="@mipmap/ic_launcher"
        android:label="@string/app_name"
        android:theme="@style/AppTheme"
        android:name=".ETPushTestApp" >
        <activity
            android:name=".MainActivity"
            android:label="@string/app_name" >
            <intent-filter>
                <action android:name="android.intent.action.MAIN" />

                <category android:name="android.intent.category.LAUNCHER" />
            </intent-filter>
        </activity>

        <!-- ETPushReceiver and Service -->
        <receiver
            android:exported="true"
            android:name="com.exacttarget.etpushsdk.ETPushReceiver"
            android:permission="com.google.android.c2dm.permission.SEND">
            <intent-filter>
                <action android:name="com.google.android.c2dm.intent.RECEIVE" />
                <action android:name="com.google.android.c2dm.intent.REGISTRATION" />
                <action android:name="android.intent.action.ACTION_SHUTDOWN" />

                <category android:name="${applicationId}" />
            </intent-filter>
            <intent-filter>
                <action android:name="android.intent.action.BOOT_COMPLETED" />
                <action android:name="android.intent.action.BATTERY_LOW" />
                <action android:name="android.intent.action.BATTERY_OKAY" />
            </intent-filter>
            <intent-filter>
                <action android:name="android.intent.action.PACKAGE_REPLACED" />
                <data android:scheme="package" />
            </intent-filter>
            <intent-filter>
                <action android:name="${applicationId}.MESSAGE_OPENED" />
                <action android:name="android.net.conn.CONNECTIVITY_CHANGE" />
            </intent-filter>
        </receiver>

        <service
            android:name="com.exacttarget.etpushsdk.ETPushService"
            android:enabled="true" />
        <!-- ETPushReceiver and Service -->

        <!-- JB4A SDK Activity required for Cloud Page or Open Direct URLs sent from Marketing Cloud -->
        <activity
            android:name="com.exacttarget.etpushsdk.ETLandingPagePresenter"
            android:label="Landing Page" />
        <!-- JB4A SDK Activity required for Cloud Page or Open Direct URLs sent from Marketing Cloud -->

        <!-- Google Play Services version.  Using the resource file will require your project contain the Google Play services project. -->
        <!-- See Google documentation for more information -->
        <meta-data
            android:name="com.google.android.gms.version"
            android:value="@integer/google_play_services_version" />
        <!-- Google Play Services version. -->
    </application>

</manifest>
アプリを起動すると、ETPush.readyAimFireでGCMに登録してデバイスIDが払い出され、Manifestに記載したserviceやreceiverがPushを受け取って処理を通知処理をしてくれます。EventBusに登録するとSDKでの各種イベントに対して処理を記述することが出来ます。上記のサンプルでは、readyAimFireが完了した時のイベントであるReadyAimFireInitCompletedEvent が発生した時の処理を記述しています。
メッセージの配信(WebUI)
ExactTargetのWebUIで配信する方法と、APIで送信する方法があります。 今回はWebUIで配信する方法を説明します。
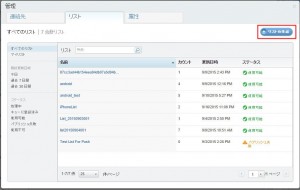
まずはMobilePushのホーム画面にアクセスして、リストを作成します。
「リストの作成」ボタンをクリックします。
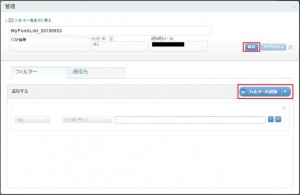
リストの情報とフィルタ条件を入力して、保存をクリックします。
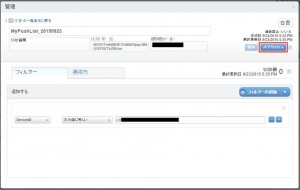
パブリッシュをクリックします。
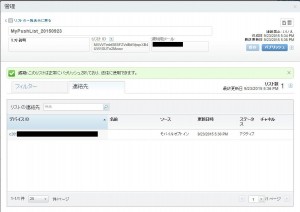
パブリッシュされた段階で、フィルタ条件に応じてリストの中身が更新されます。フィルタ条件に合致するデバイスが増減しても再度パブリッシュしない限りは更新されないようなので、リストを使って送信する場合は必ずパブリッシュしてから送信する必要があります。
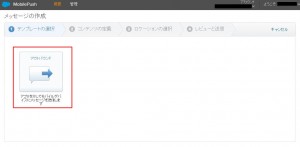
次にMobilePushのホーム画面からメッセージを作成します。アウトバウンドを選択します。
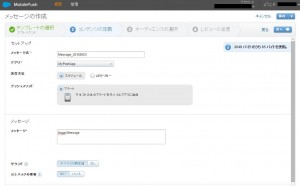
メッセージの情報を入力します。
メッセージ配信対象のリストを選択します。
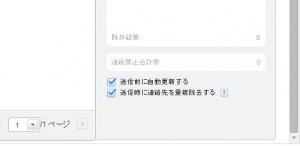
同画面の右下の方に「送信前に自動更新する」チェックがあるので、更新(=パブリッシュ)する場合はチェックを付けます。
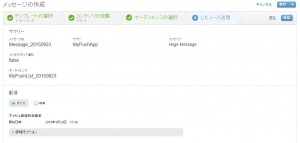
配信のタイミングを設定して送信をクリックします。
すると、こんな感じでPush通知が来ます。
