Azure Active DirectoryのGraphAPIを触る機会があったので、備忘として残しておきます。
Graph APIの利用にあたって、以下のサイトを参考にしました。
- Azure AD Graph REST API リファレンス
- Azure Active Directory の Graph API の活用
- Azure AD での OAuth 2.0
- Azure AD Graph API
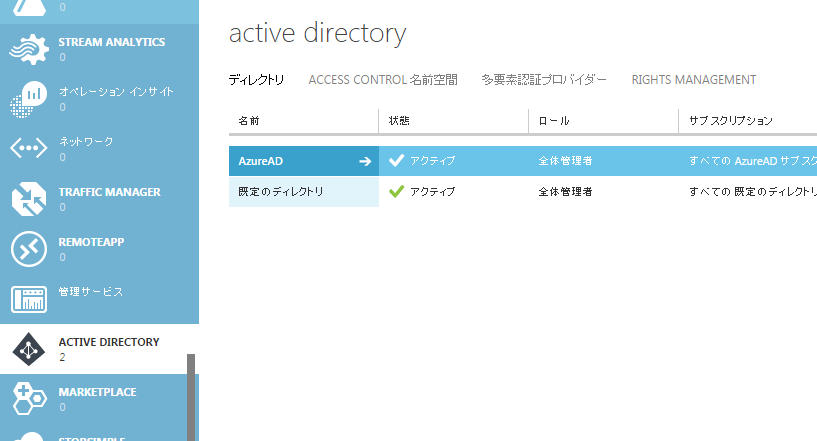
Azure Active Directoryアプリケーションの作成
Azureのポータルにログインして、任意のAzure Active Directoryを選択します。
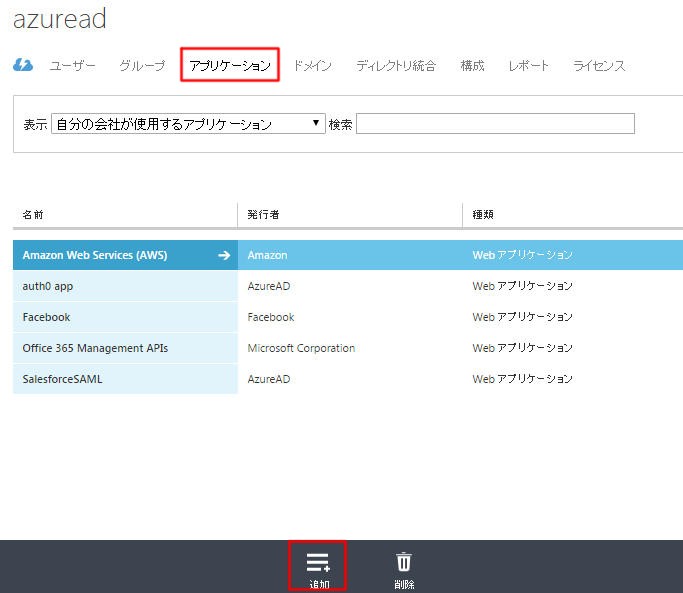
アプリケーションタブを選択して、[追加]をクリックします。
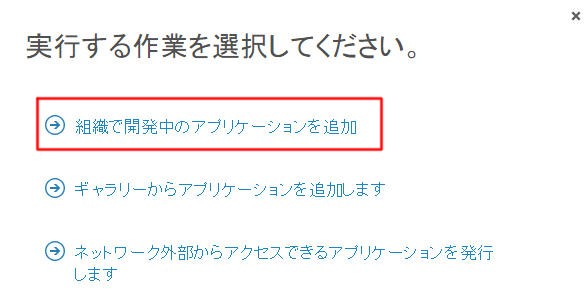
[組織で開発中のアプリケーションを追加]を選択します。
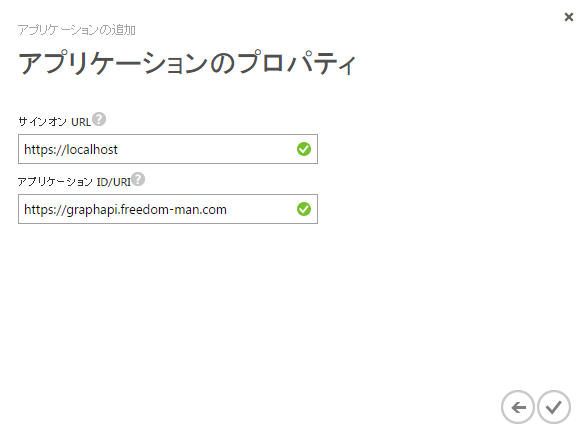
アプリケーションの名前をテキトーに記述し、種類は[WEBアプリケーションやWEB API]を選択します。

アプリケーションのプロパティもテキトーでOKです。
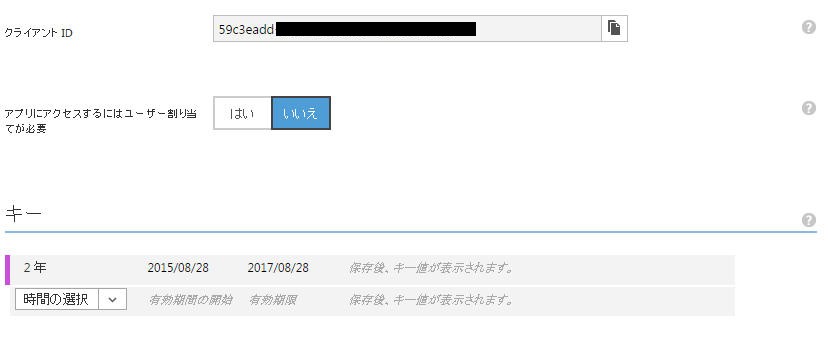
作成したら、クライアントIDをコピってキーを生成します。キーは保存時に表示されるので、保存直後にメモってください。
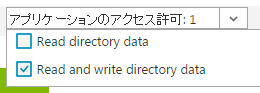
アプリケーションの権限は以下のように設定します。
![]()

あとは保存すればOK。キーは保存直後にしか表示されないので、必ずコピーするのを忘れないようにしてください。
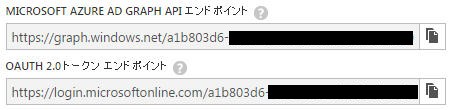
下部のメニューに[エンドポイントの表示]のリンクがあるのでクリックすると、APIコールに必要な各エンドポイントが表示されます。今回は、GRAPH APIエンドポイント、OAUTH2.0トークンエンドポイントを利用します。
OAuth2.0で認証・認可リクエスト
REST APIのためのaccess_tokenはOAuth2.0のAuthorization Code Grantか、Client Credentials Grantで取得します。 Client Credentialsのリクエストサンプルを以下に示します。
$ curl -i -X POST \
   -H "Content-Type:application/x-www-form-urlencoded" \
   -d \
'grant_type=client_credentials&client_id={client_id}&client_secret={client secret}&resource=https://graph.windows.net' \
 '{oauth2.0 token endpoint}?api-version=1.0'
resourceを指定しないと以下のように怒られるので注意して下さい。
{
    "error": "invalid_resource",
    "error_description": "AADSTS50001: Resource identifier is not provided.\r\nTrace ID: 2681d81c-f8e6-4dc1-ae5d-5a13e351d660\r\nCorrelation ID: b6c2dd34-82c1-476c-ac75-2c0743fb0ed3\r\nTimestamp: 2015-08-18 06:36:19Z",
    "error_codes": [
        50001
    ],
    "timestamp": "2015-08-18 06:36:19Z",
    "trace_id": "2681d81c-f8e6-4dc1-ae5d-5a13e351d660",
    "correlation_id": "b6c2dd34-82c1-476c-ac75-2c0743fb0ed3",
    "submit_url": null,
    "context": null
}
正常なレスポンスはこんな感じ
{
    "expires_in": "3600",
    "token_type": "Bearer",
    "scope": "Directory.Read Directory.Write user_impersonation UserProfile.Read",
    "expires_on": "1439879245",
    "not_before": "1439875345",
    "resource": "https://graph.windows.net",
    "access_token": "eyJ0eXAiOiJKV1QiLCJhb***************"
}
access_tokenがeyJ…で始まることからわかるように、JWTになっています。 ちなみにJWTのヘッダ、ボディはこんな感じ
{
    "typ": "JWT",
    "alg": "RS256",
    "x5t": "MnC_VZcATfM5pOYiJHMba9goEKY",
    "kid": "MnC_VZcATfM5pOYiJHMba9goEKY"
}

{
    "aud": "https://graph.windows.net",
    "iss": "https://sts.windows.net/**************/",
    "iat": 1439878262,
    "nbf": 1439878262,
    "exp": 1439882162,
    "ver": "1.0",
    "tid": "***************",
    "oid": "3d435e80-22c0-4bb1-a45b-9ae56073b3d2",
    "sub": "3d435e80-22c0-4bb1-a45b-9ae56073b3d2",
    "idp": "https://sts.windows.net/**************/",
  "appid": "**************",
  "appidacr": "1"
}
ユーザ情報の取得
リクエスト
$ curl -i -X GET \
   -H "Authorization:Bearer {access_token}" \
 '{GraphAPI endpoint}/users?api-version=2013-04-05'
レスポンス
{
    "odata.metadata": "https://graph.windows.net/*********/$metadata#directoryObjects/Microsoft.WindowsAzure.ActiveDirectory.User",
    "value": [
        {
            "odata.type": "Microsoft.WindowsAzure.ActiveDirectory.User",
            "objectType": "User",
            "objectId": "043765fe-6846-41af-9563-83be11546e8e",
            "accountEnabled": true,
            "assignedLicenses": [],
            "assignedPlans": [],
            "city": null,
            "country": null,
            "department": null,
            "dirSyncEnabled": null,
            "displayName": "太郎 HOGE",
            "facsimileTelephoneNumber": null,
            "givenName": "太郎",
            "jobTitle": null,
            "lastDirSyncTime": null,
            "mail": null,
            "mailNickname": "hoge_hotmail.co.jp#EXT#",
            "mobile": null,
            "otherMails": [
                "hoge@hotmail.co.jp"
            ],
            "passwordPolicies": null,
            "passwordProfile": null,
            "physicalDeliveryOfficeName": null,
            "postalCode": null,
            "preferredLanguage": null,
            "provisionedPlans": [],
            "provisioningErrors": [],
            "proxyAddresses": [],
            "state": null,
            "streetAddress": null,
            "surname": "HOGE",
            "telephoneNumber": null,
            "usageLocation": "JP",
            "userPrincipalName": "hoge_hotmail.co.jp#EXT#@*****.onmicrosoft.com"
        },...
    ]
}
odata.metadataの記述からわかるとおり、Graph APIはODataに対応しています。
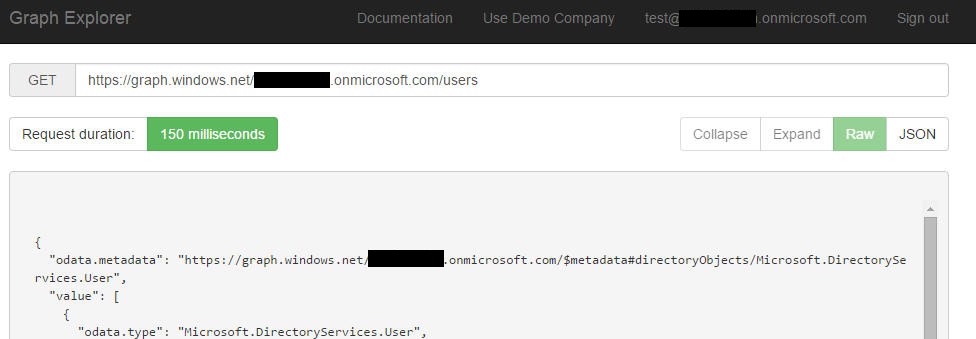
GraphExplorerを使ったGraph APIの検証
GraphExplorerを使って、GraphAPIの検証を行うことができます。 参考URLはこちら→Getting started with the Graph API with the Graph Explorer
https://graphexplorer.cloudapp.netにアクセスして、右上の[Sign In]をクリックします。
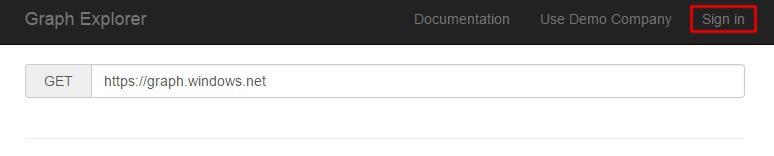
OAuth2.0のAuthorization Code Grantフローが走るので、認証・認可を行います。
認可処理後はURL欄にテナント名がセットされるので、この状態でGraphAPIの簡易的なテストを行うことができます。